Adding a PDF
PDFs are the primary format for delivering handbooks, learner guides, and static reading materials within Nimbu. When you upload a PDF to your Content Library, it becomes a master asset that can be mapped to any Unit or used as a reference within assessments.
By digitising your paper-based resources, you ensure that every student has immediate access to the latest version of your training materials. This centralisation reduces the risk of students using outdated versions and ensures a consistent learning experience across all intakes
What's Covered in This Article
This article provides a step-by-step walkthrough for uploading, configuring, and publishing PDF documents.
- Uploading a PDF: Adding a file from your computer.
- PDF Settings: Configuring the title and visibility.
- Publishing: Saving a draft or making the resource available for use in units.
Who can do this: Content Editors with Program permission can create and publish PDF resources.
How to Navigate to PDF
To begin, you need to navigate to the resource management area:
- Sign in to your Nimbu account.
- In the left-hand navigation under CONTENT, click Learning Resources / Materials.
- Select the PDF tab.
- Click Add to open the PDF editor.


Step 1: Enter a Title
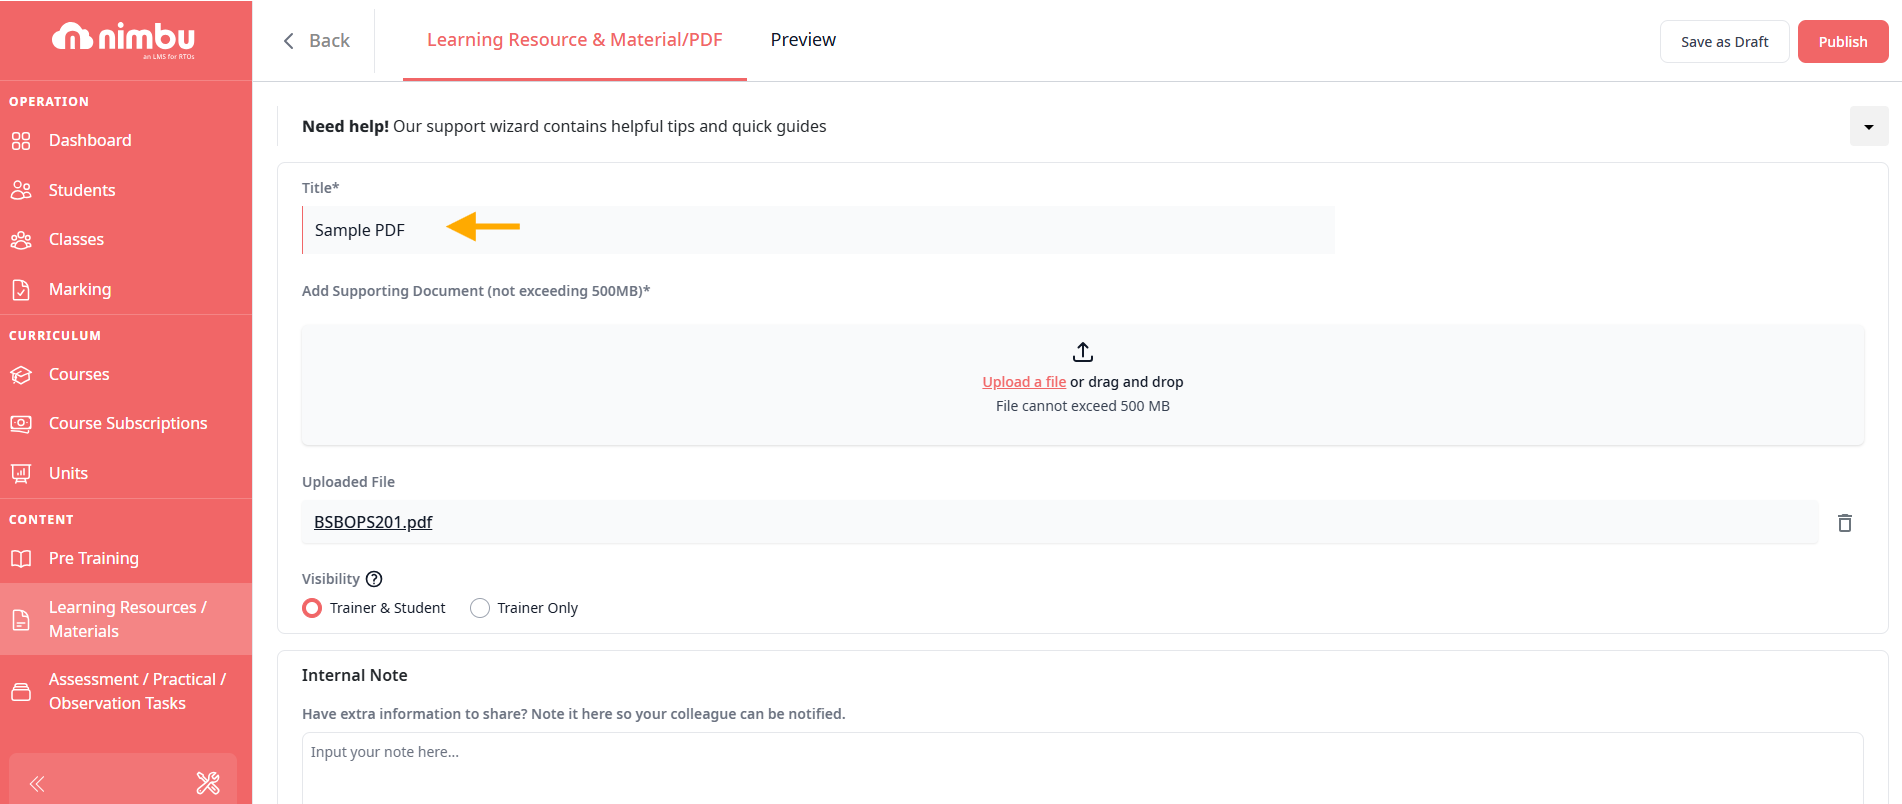
- In the Title field, enter a descriptive name for your document (e.g., SITXFSA005 Learner Handbook).
- Ensure the title is clear, as this is how the resource will appear in your PDF index once published
Step 2: Uploading PDF Documents
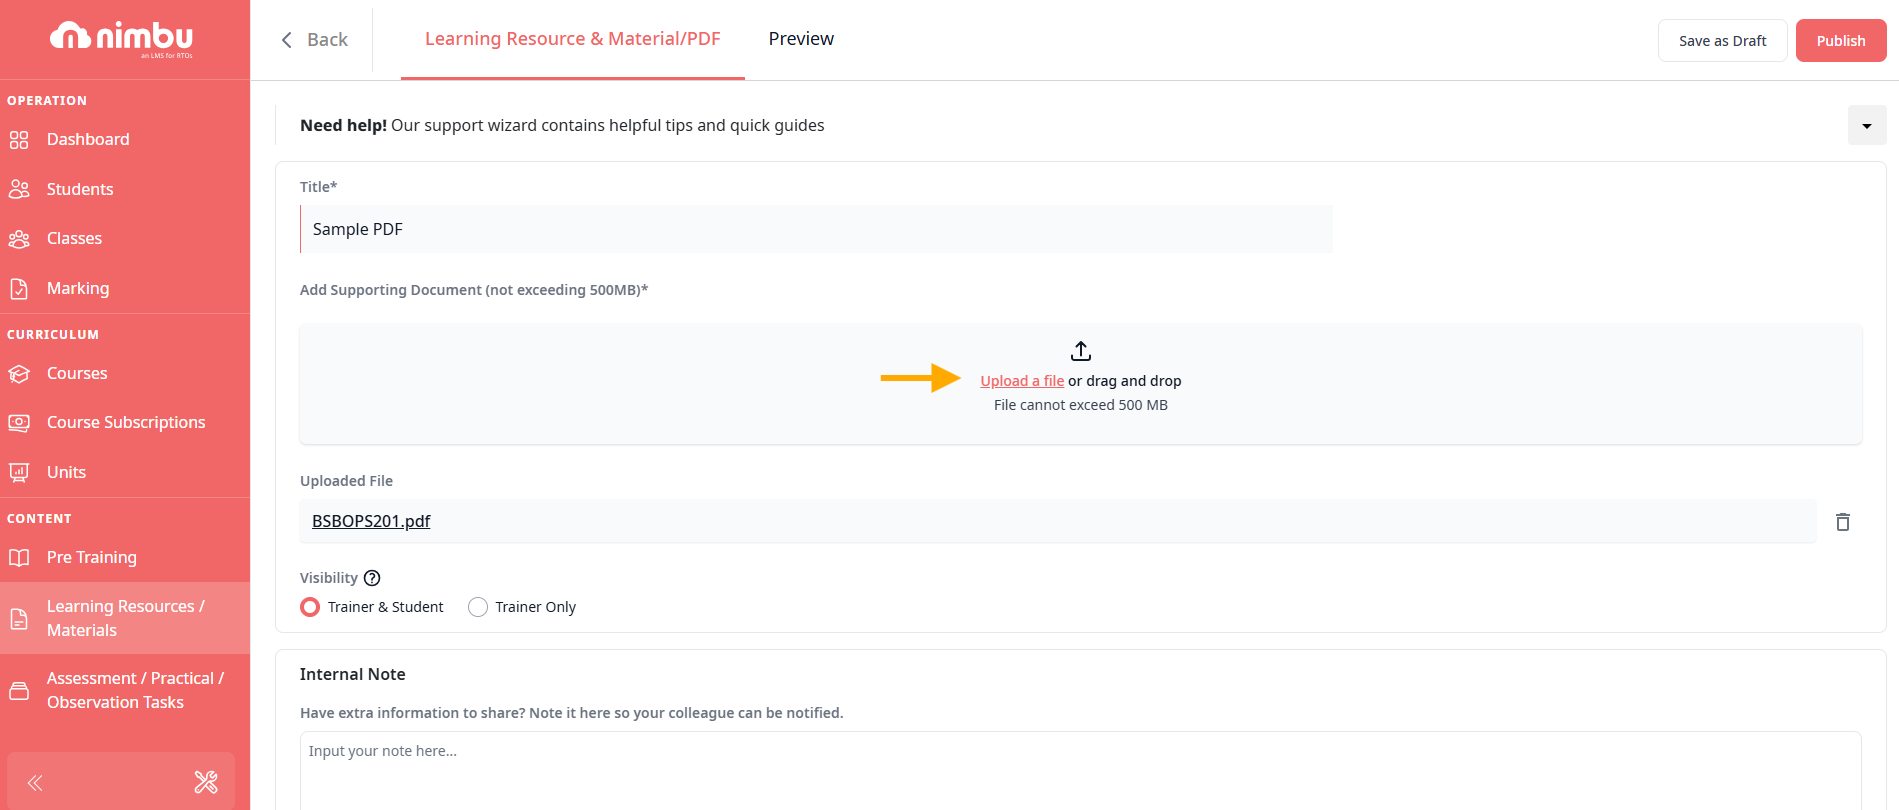
You can add your file using the "Add Supporting Document" box:
- Drag and Drop: Drag a PDF from your computer and drop it directly into the upload box.
- Manual Upload: Click the Upload a file link to select a file from your local storage.
Note: Files must be in .pdf format. Individual files cannot exceed 500 MB.
Step 3: Configure PDF Settings
Once the file is uploaded, you must define who is permitted to view it:
- Visibility: Select who can access this video:
- Trainer & Student: Both trainers and students can view this pdf (default and most common setting)
- Trainer Only: Only trainers can access this pdf (useful for marking guides or instructor-only content)
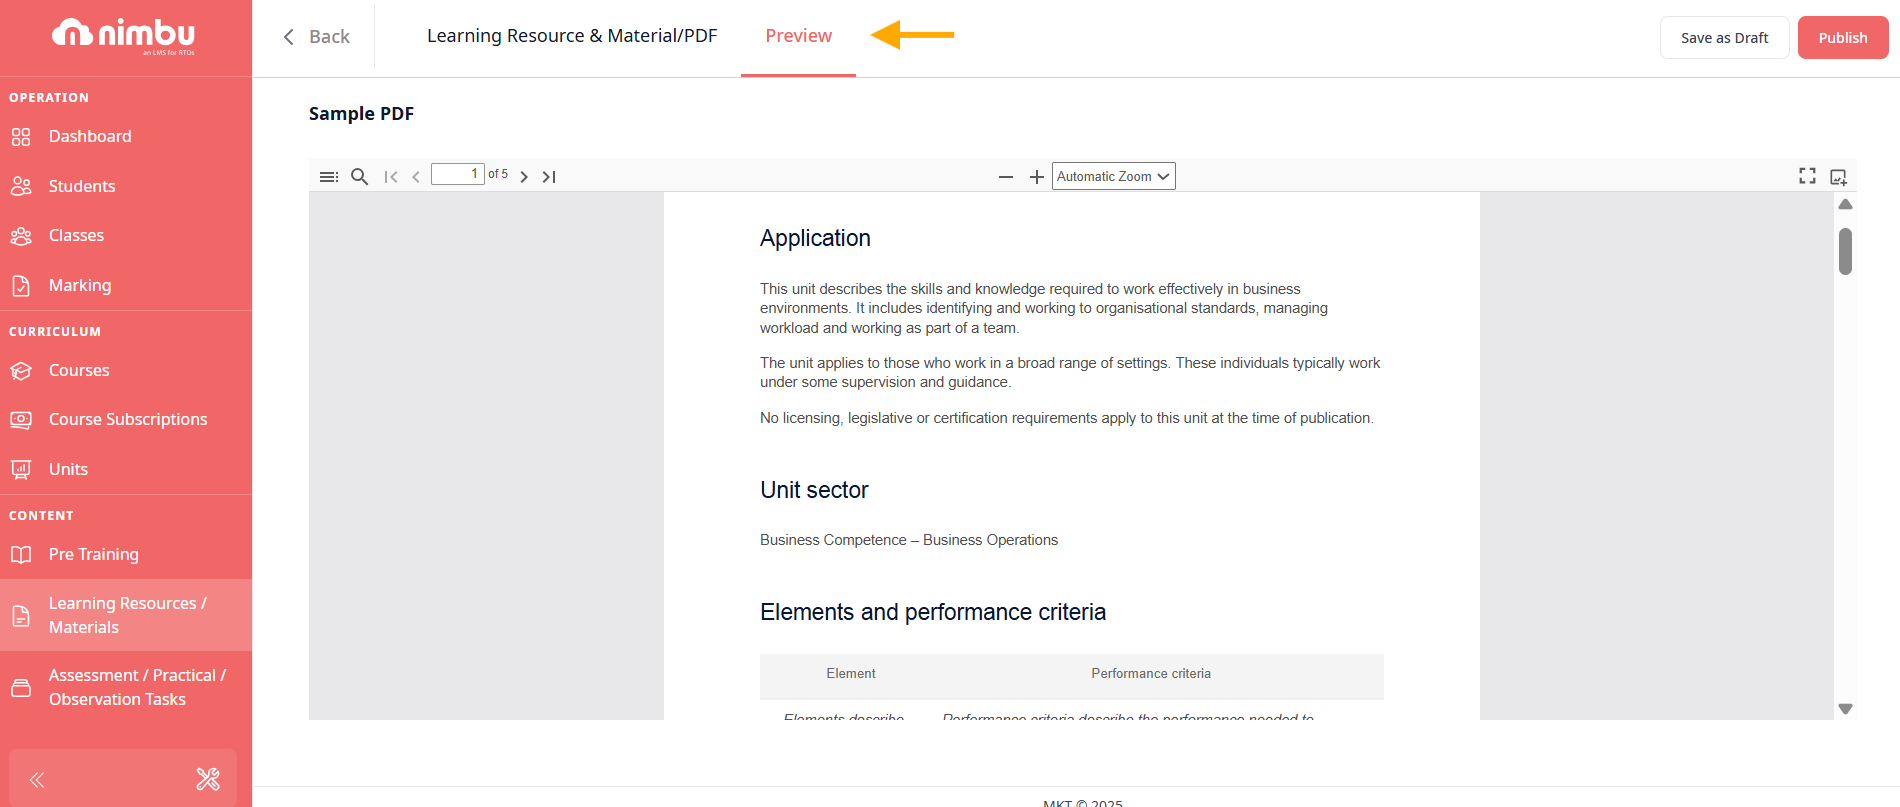
- Preview: Select the Preview tab to review the file layout before finalising

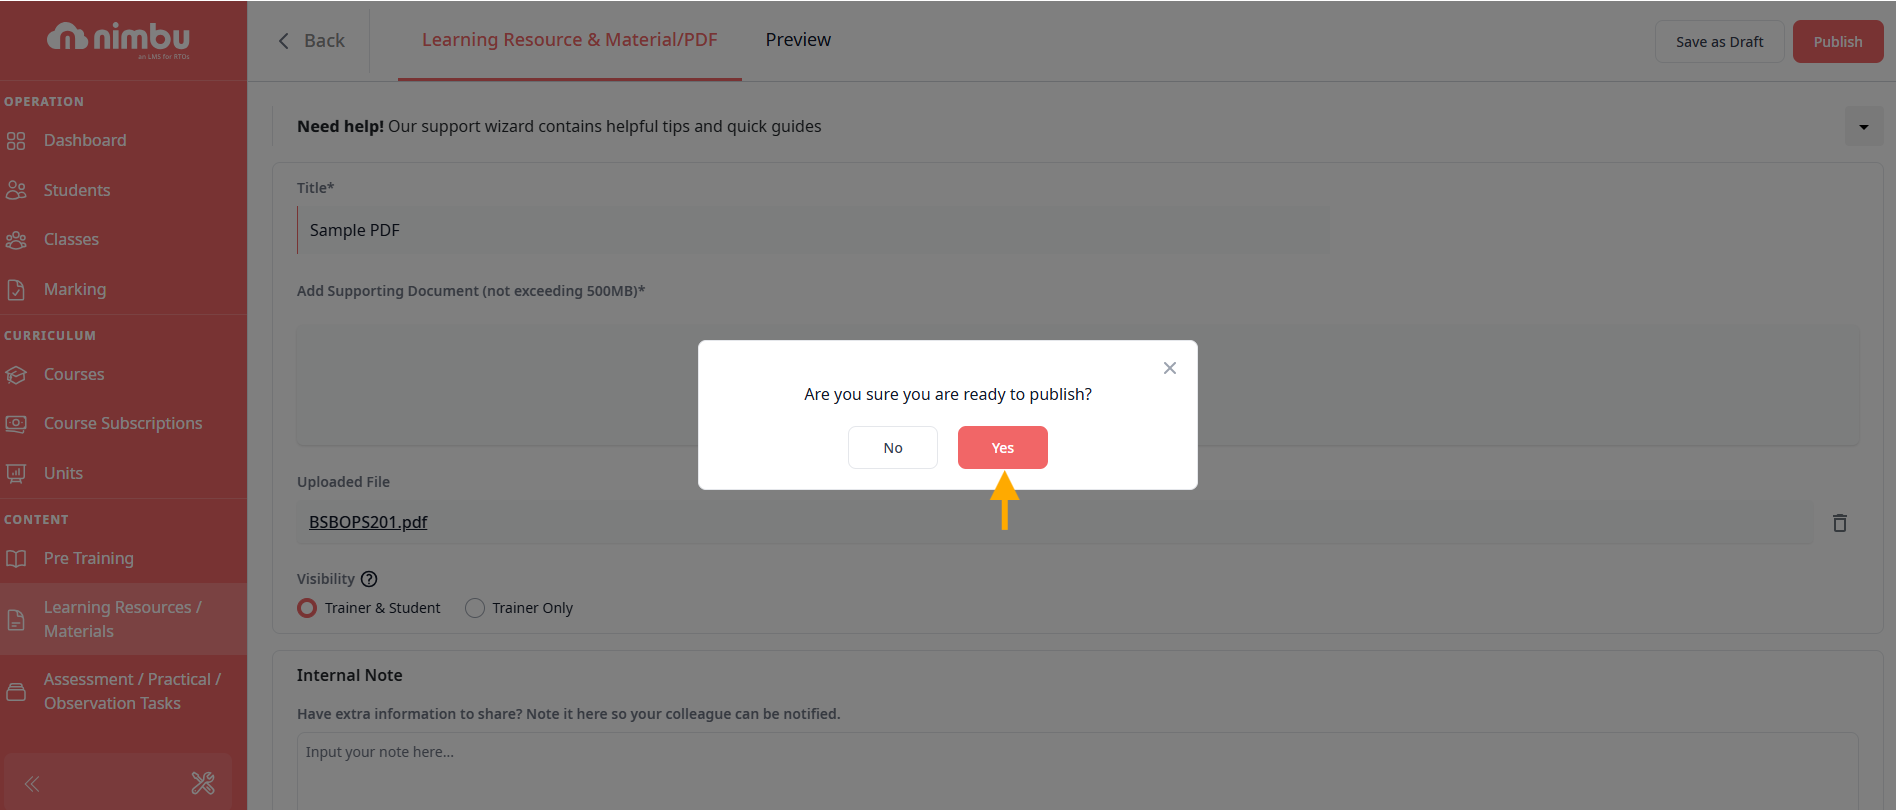
Step 4: Finalise and Publish
Select the Preview tab to review how the document renders before finalising.
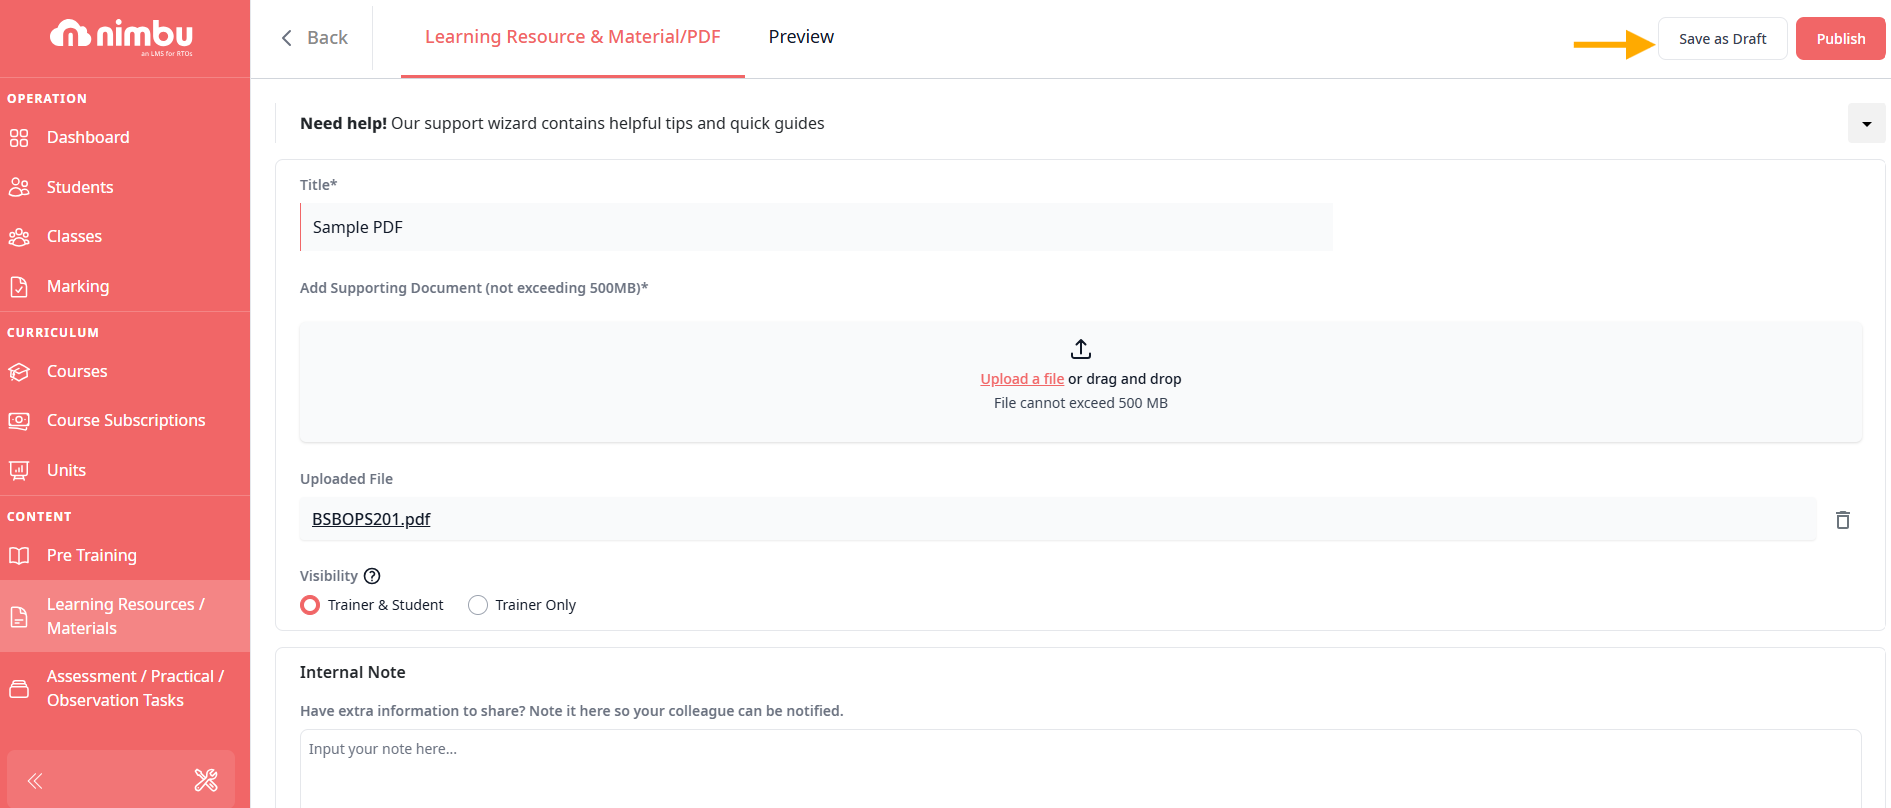
When ready:
- Click Save as Draft to save without publishing.
- Click Publish to make the resource active and available to add to units.
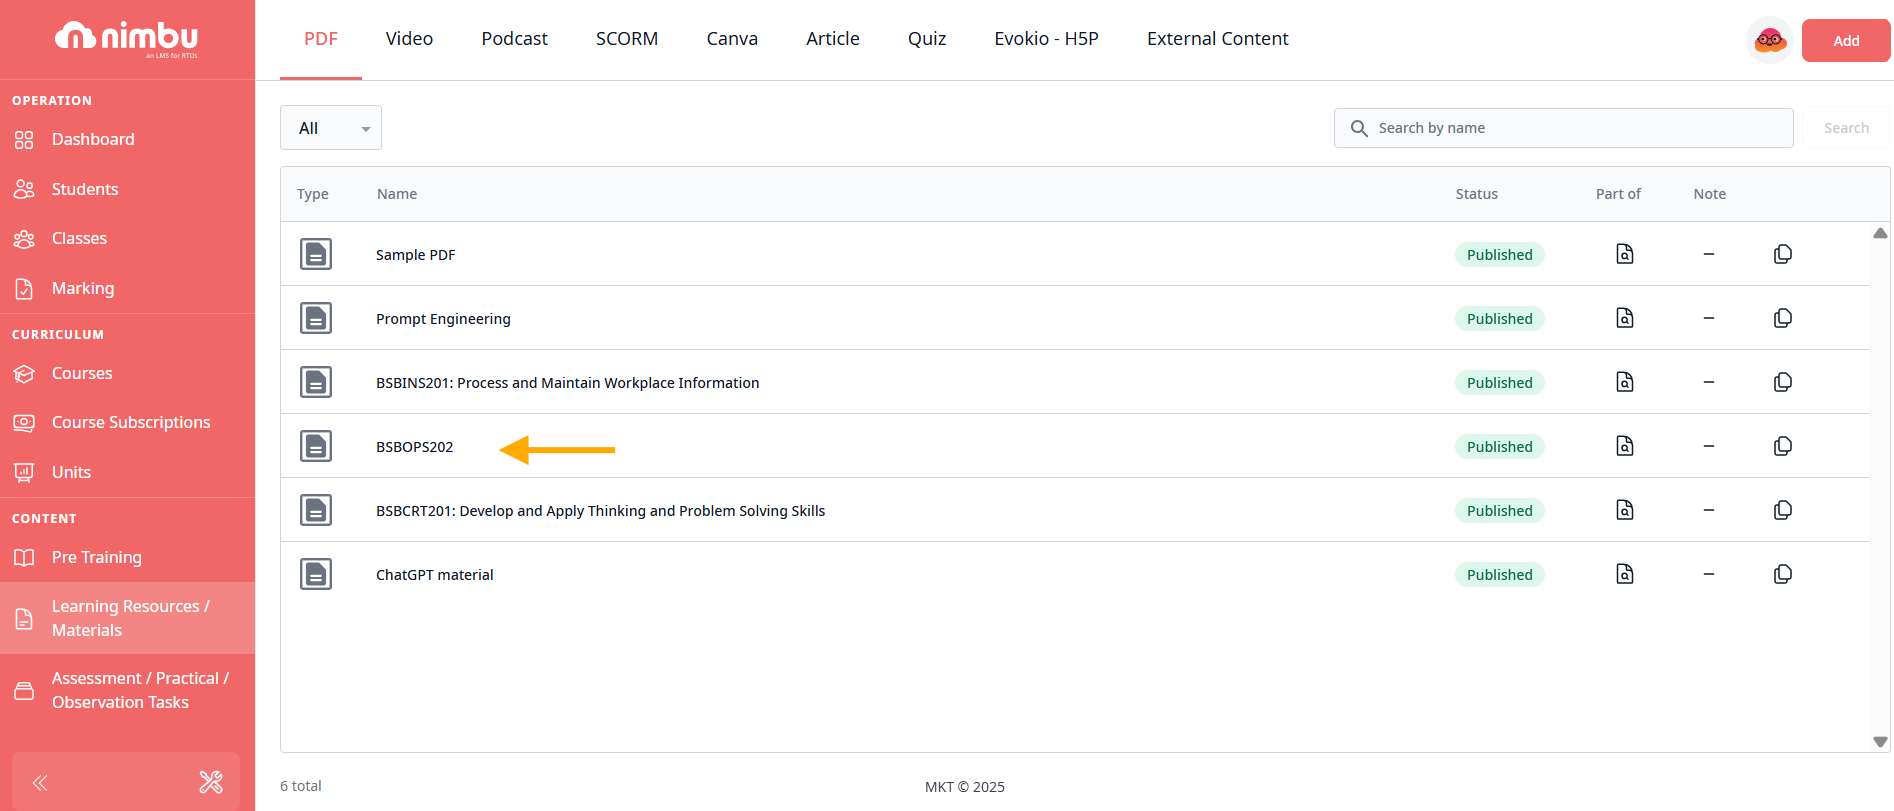
Once published, the PDF appears in your PDF library and can be added to units via the standard Add Content workflow.

Related Articles
- What are Learning Resources?
- Managing Content