How To Add A New Admin User
Adding a new admin user to our LMS is a simple process that can be completed in a matter of minutes. However, only an admin can perform this task. In Nimbu, administrators have the ability to add new users to the system and assign them their appropriate roles, responsibilities and permissions. Let us guide you through the process with straightforward instructions.
In this article, we will cover the following points.
The steps for adding a new admin user
Steps to follow for adding a new admin user:
Step 1 - Sign in to your Nimbu account.
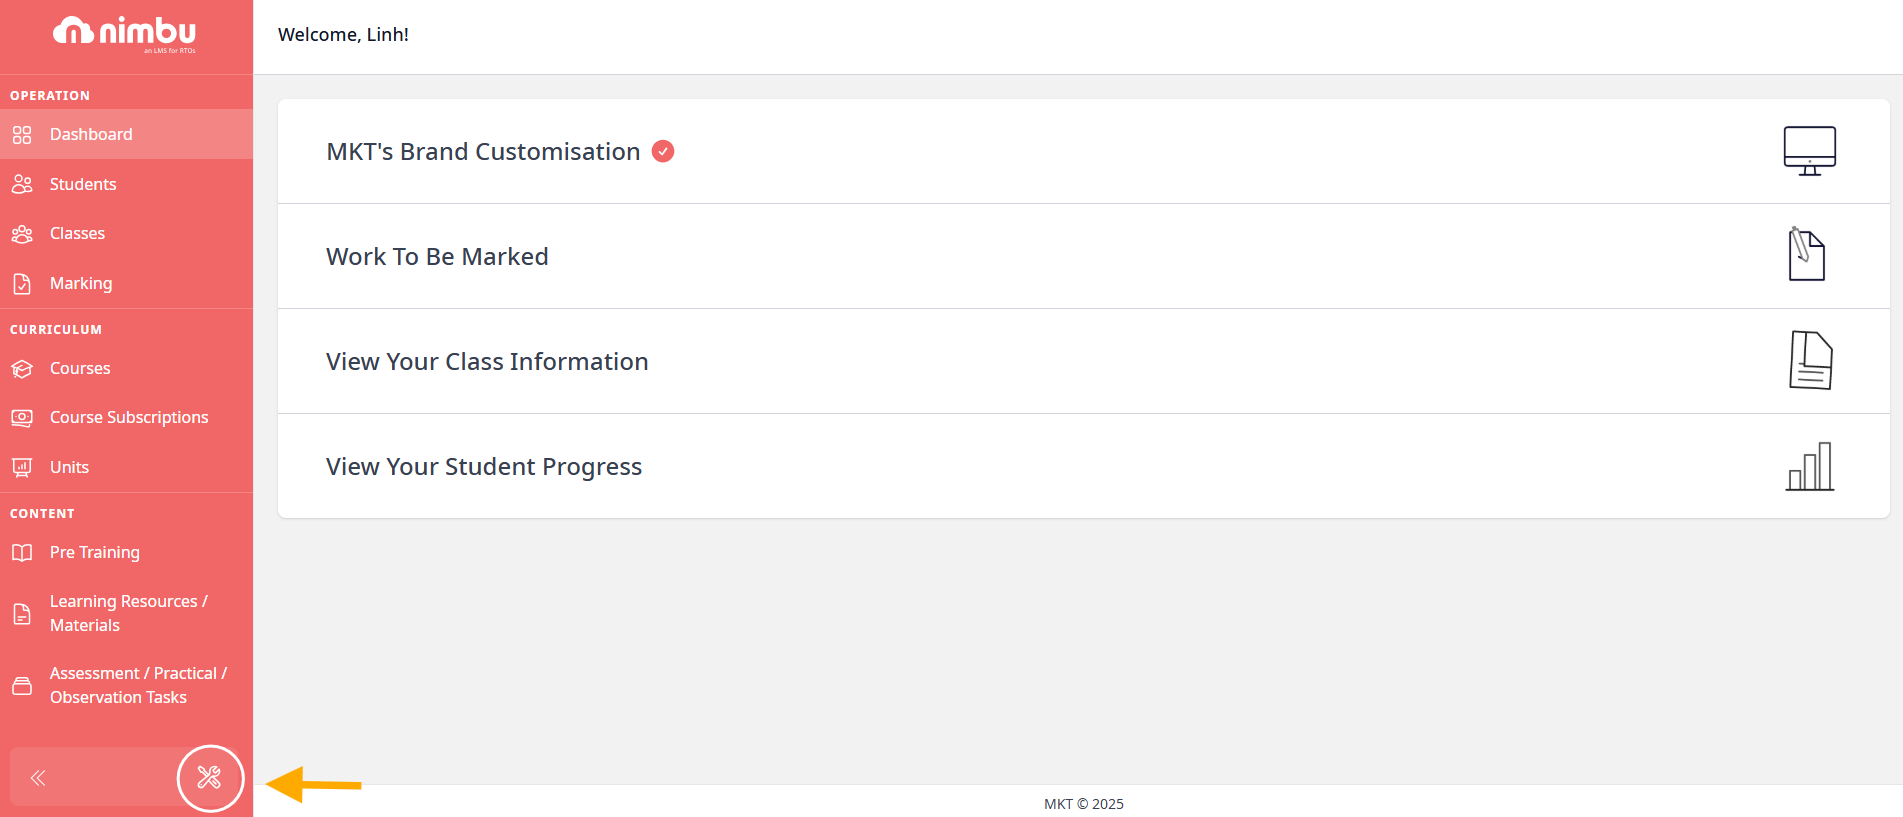
Step 2 - From your dashboard, at the bottom of the left sidebar, click on the settings icon to display a pop-up menu.
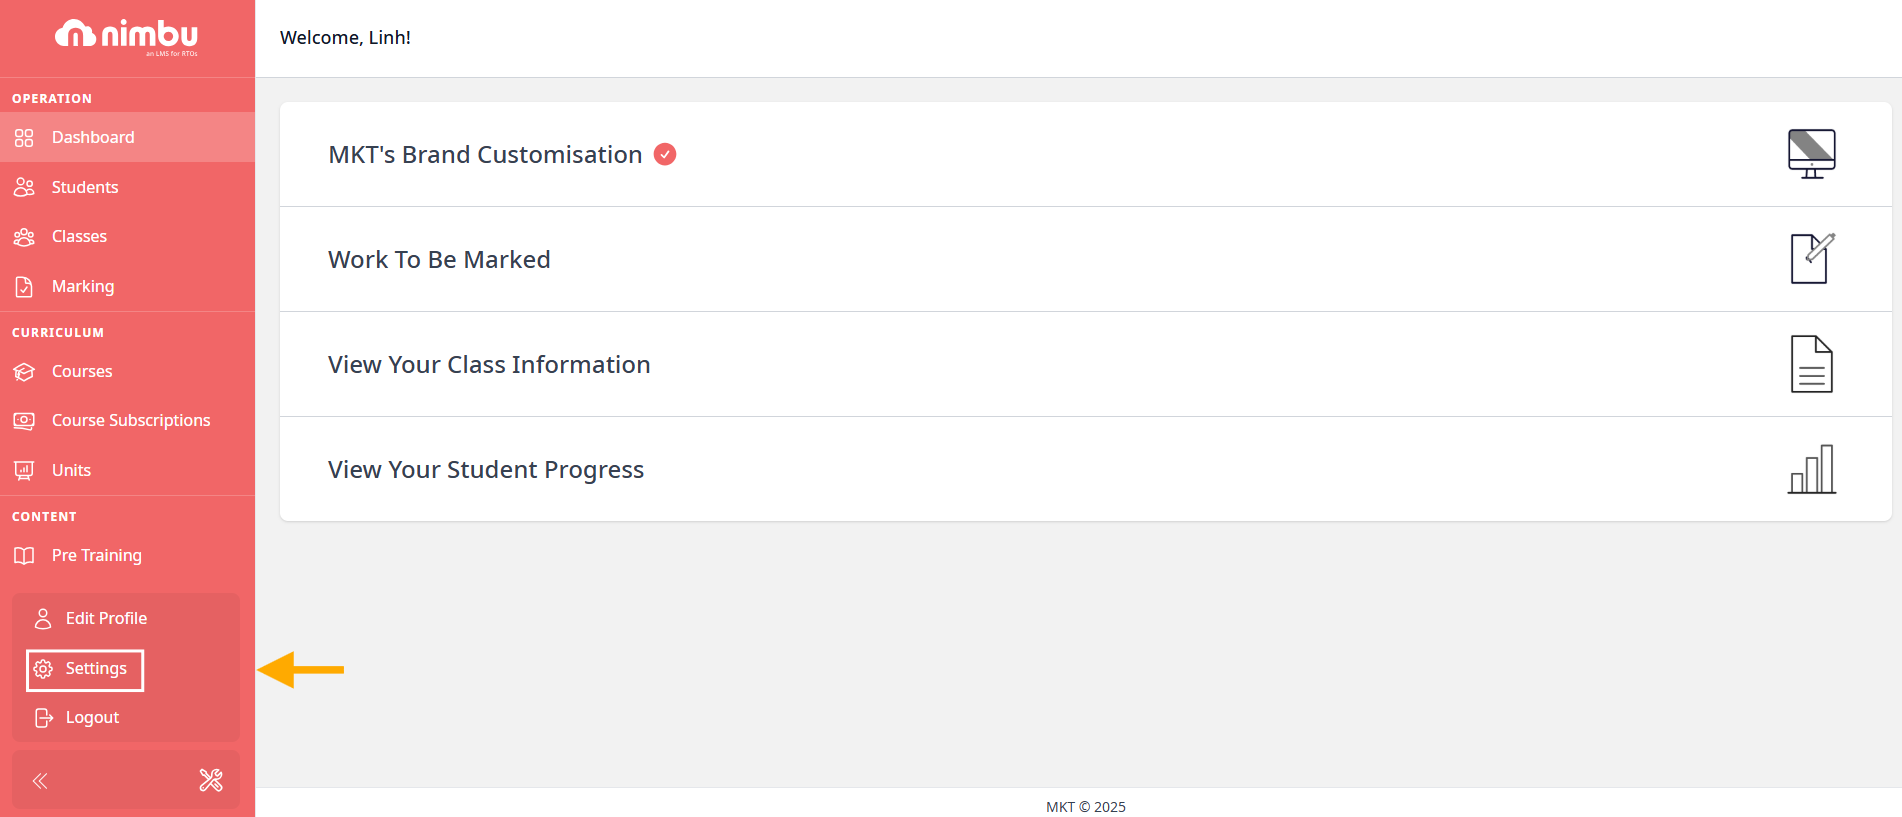
Step 3 - Click on the Settings option from the pop-up menu.
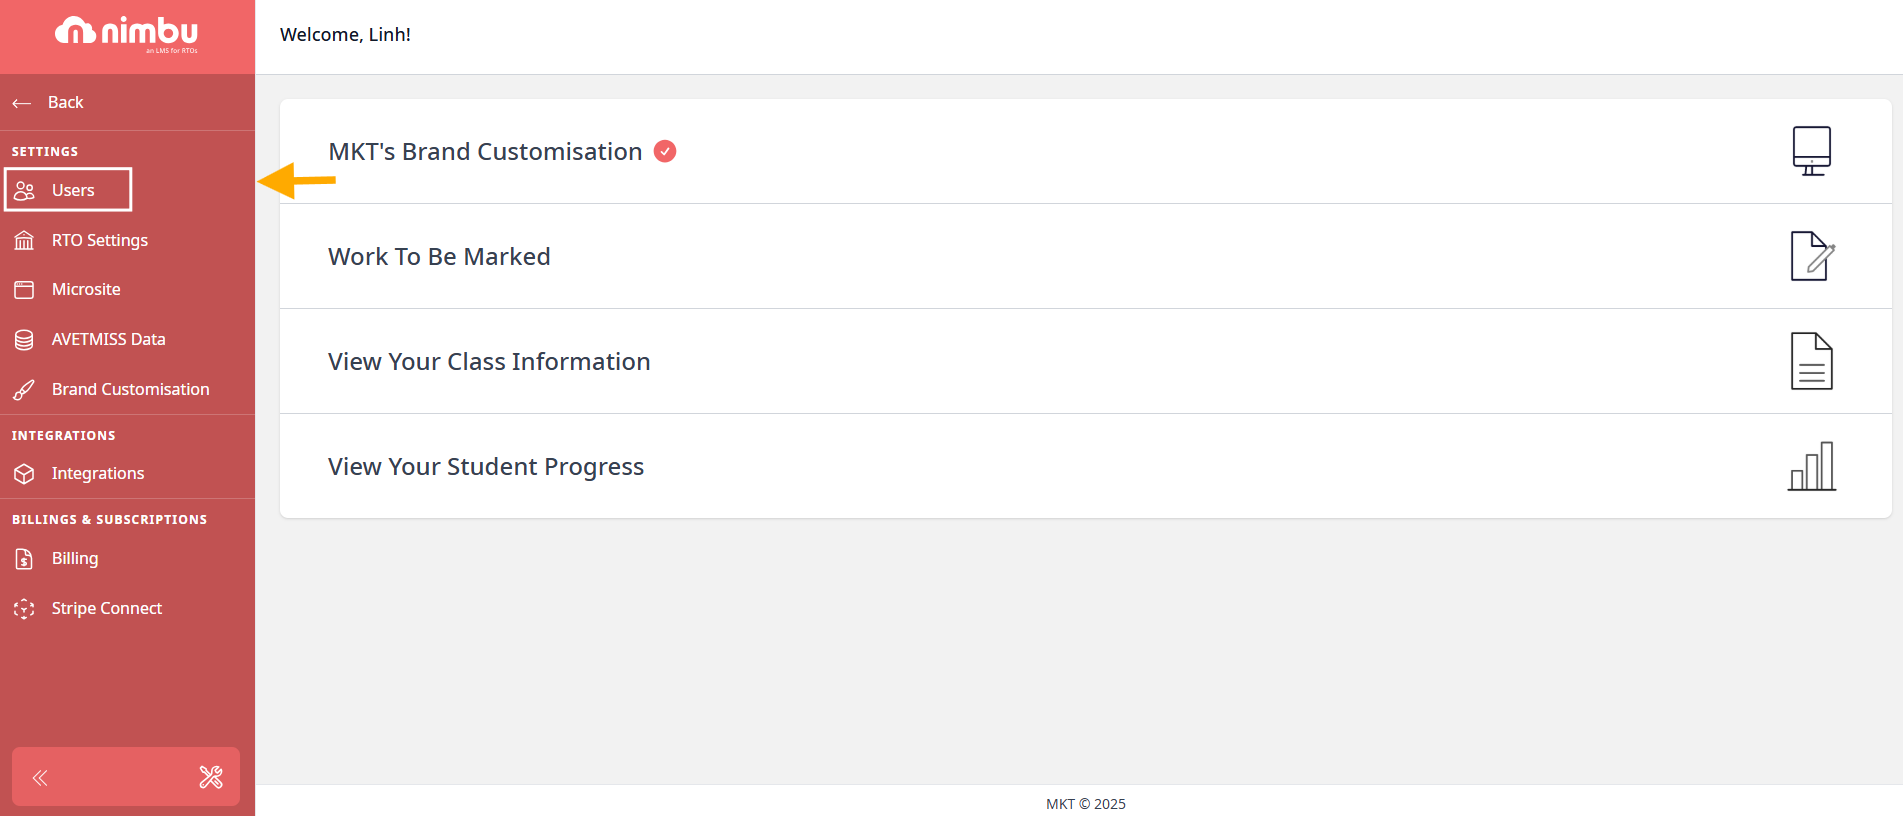
Step 4 - Click on Users from the top side of the left panel. It will take you to the user index page.
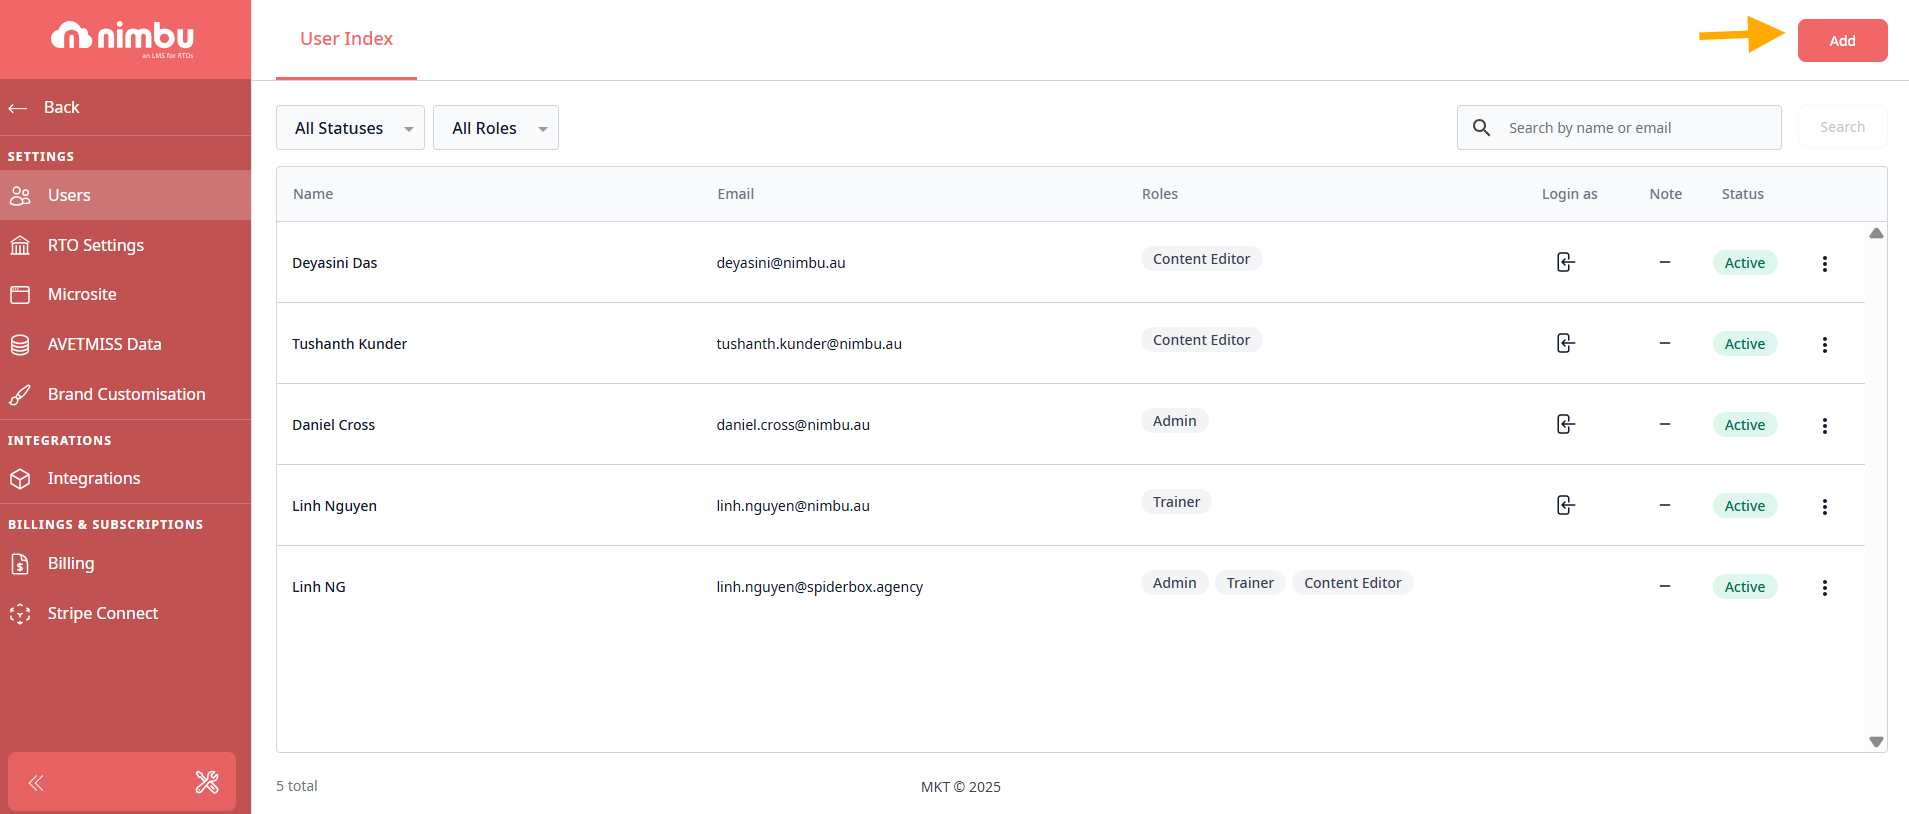
Step 5 - Press the Add button in the top right corner of the user index page.
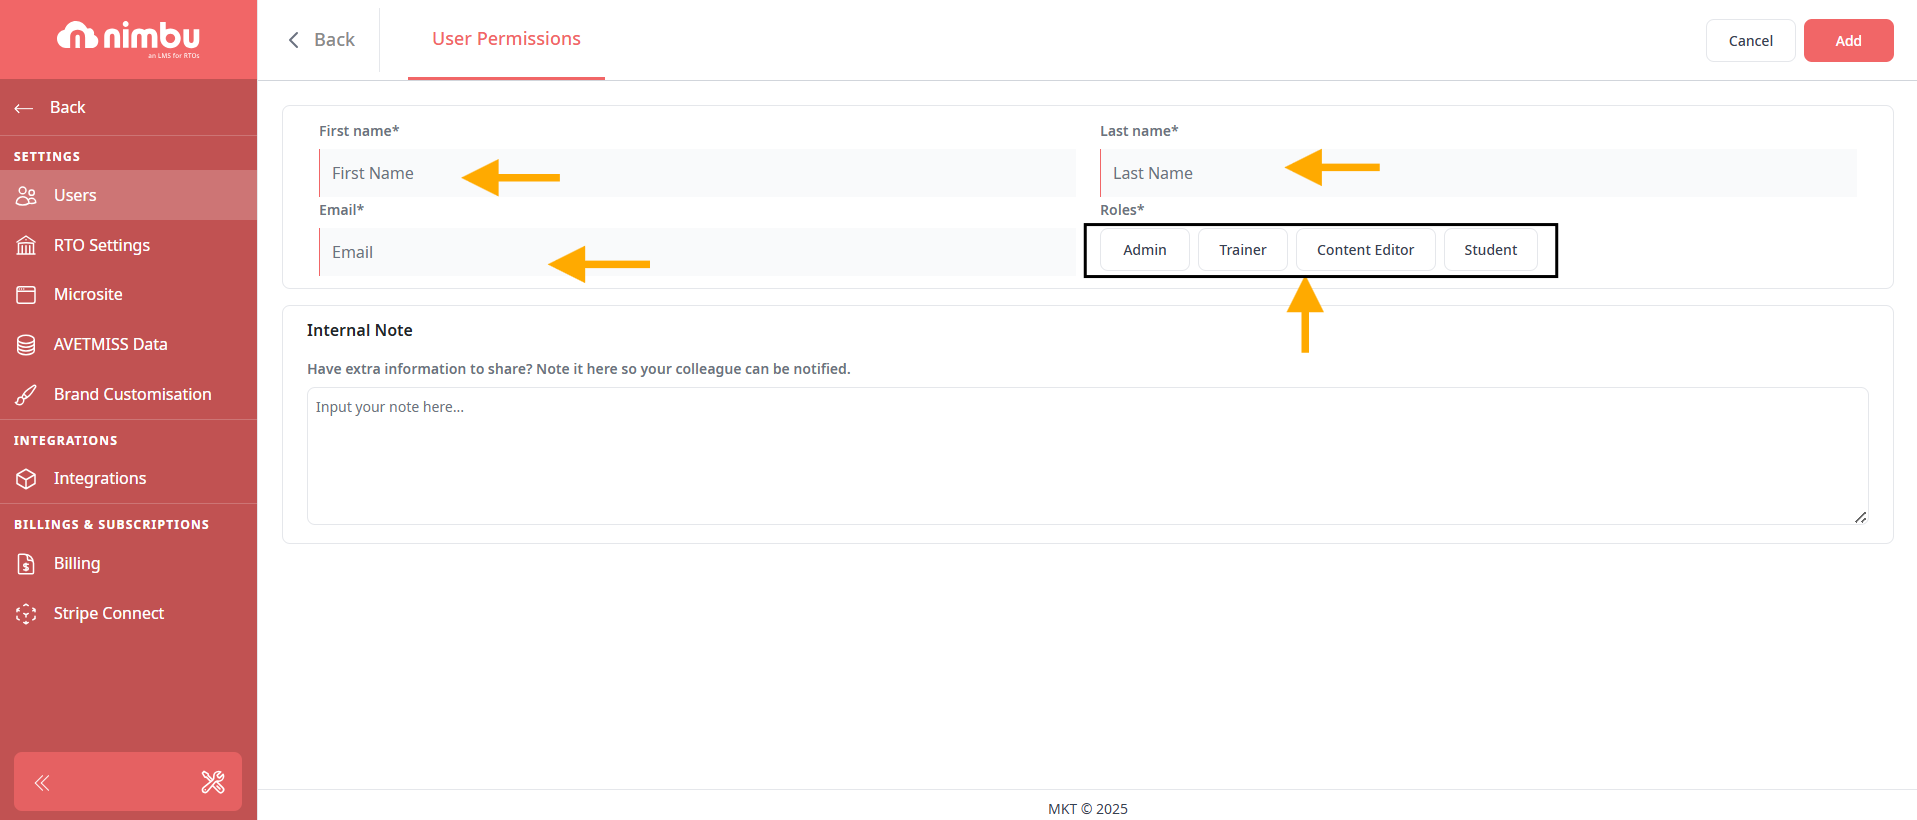
Step 6 - Add the first name, last name and email of the new user.
Step 7 - Assign a role to the new user by pressing any of the role buttons (admin, trainer, content editor or student)
Step 8 - Set different permissions for the new user by clicking the On/Off toggle buttons beside the role subcategories.
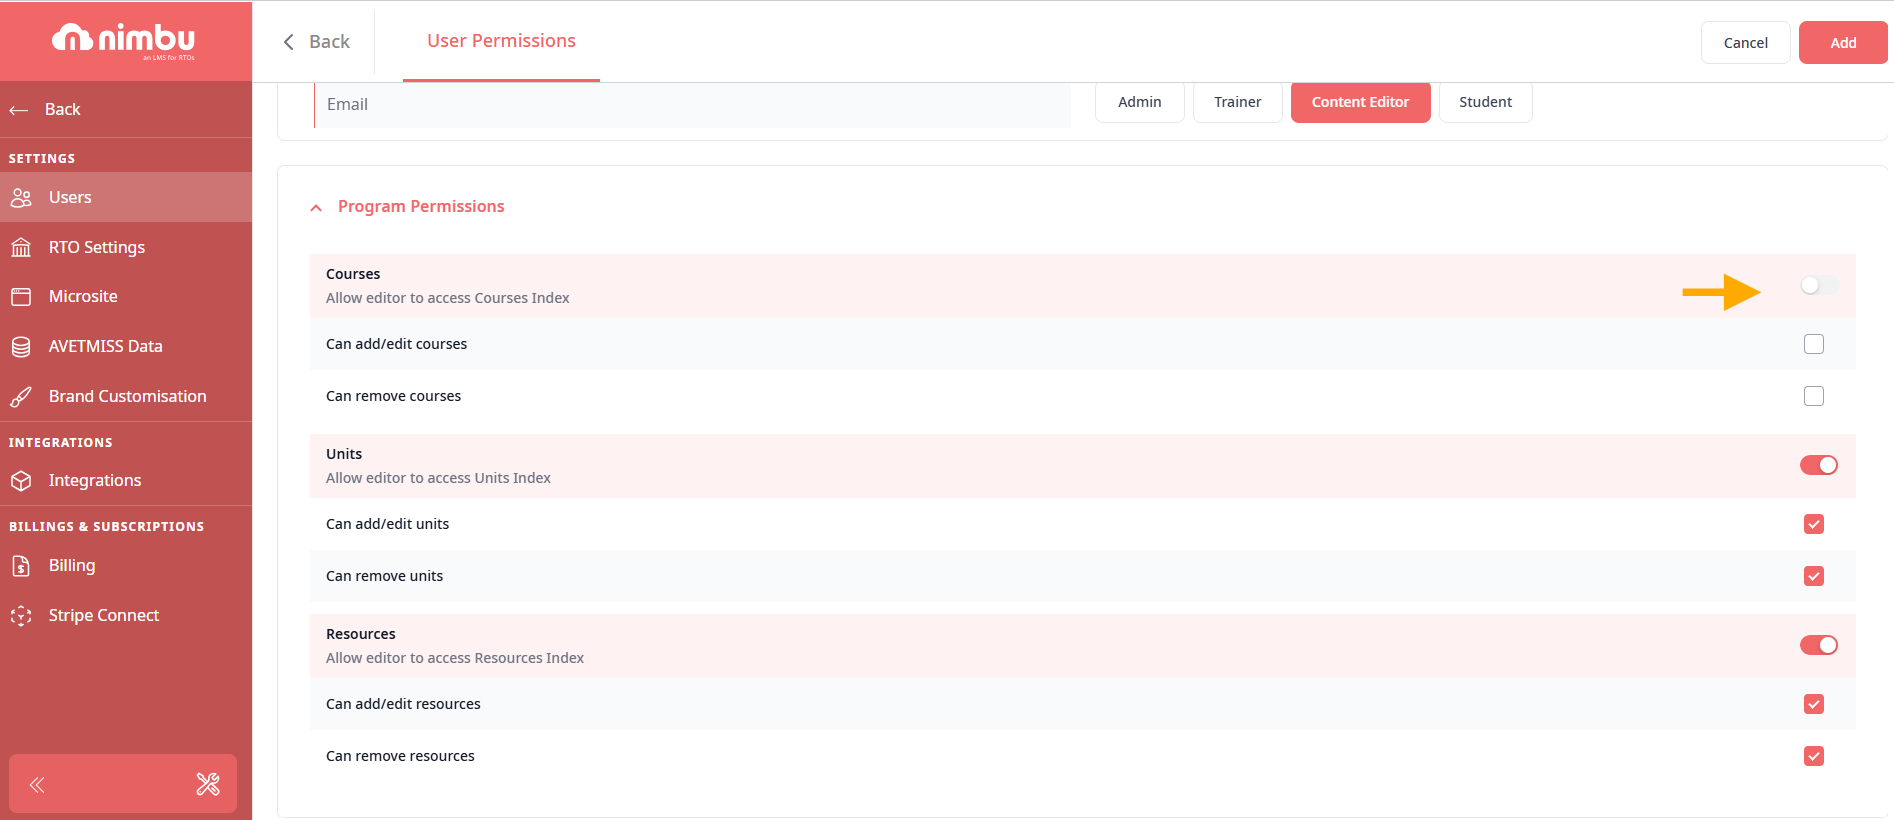
For example
Select the Content Editor button if you want the new user to be a content editor. You can disable courses and units by clicking the On/Off toggle button next to Courses and Units if you only want that content editor to create resources and learning materials and not configure them.
For an in-depth explanation of each permission please view our 'User Types & Permissions Overview' support article.
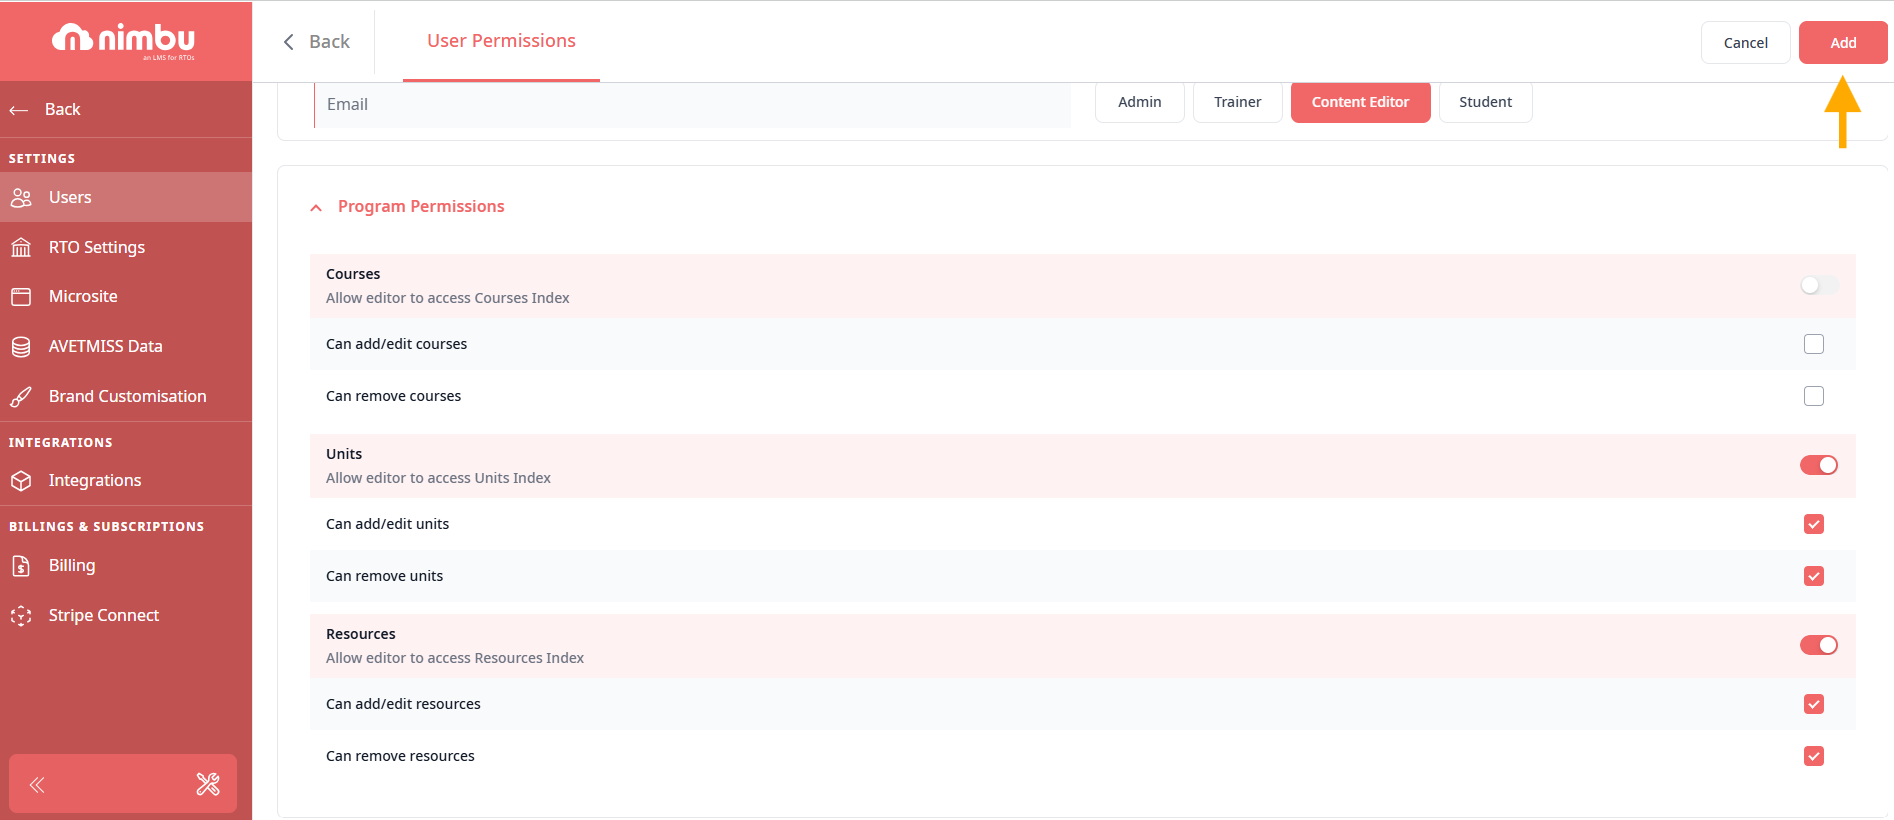
Step 9 - Click the Add button in the top right corner of the page to save the new user and their role and permissions.
If you have any further questions regarding adding a new admin user, please don't hesitate to contact us. Our support team will happily assist you with all your concerns.